Test-ride the Vision in Regensdorf, or become a Founding Rider.

Welcome to your Aegis Rider Vision

Setup guides and video tutorials to help you get the most out of your smart motorcycle helmet and AR Optics system.

Your first ride, in six steps

01

In the box

Helmet, AR Optics with case, spacers and cloth, clear and dark visors, Pinlock insert, rigid phone mount, USB-C cable, pairing adapter, helmet bag and quick-start card with your serial number. Keep the card. If anything is missing, contact support with your order number.

02

First start and pairing

Charge over USB-C; a full charge takes about two hours. Install AR Vision Companion and use the account you bought with. Attach the AR Optics and hold POWER for about three seconds. Solid blue means powering on; pulsing blue means booting; a slow blink in the battery colour means running. Scan for the helmet in the app and enter its six-digit display code. If the display is dark, tap POWER and wait 6–7 seconds.

03

Mount the sensor

Use a rigid phone mount in exactly the same position and orientation every ride, or mount the Pro-Box on the bike, for example under the seat. A phone in a pocket or tank bag cannot act as the motorcycle sensor. For Static Mode alone, the phone can stay in your pocket.

04

Calibrate your motorcycle

Profile → Garage → New vehicle. Follow the guided ride: five left turns, five right turns, a 45-second straight and at least five minutes above 20 km/h. Processing can take up to two hours. Then download the profile from the cloud, upload it to the helmet and press Launch. Do not delete the bike: open it in the Garage and calibrate again. Deleting a bike does not return its slot.

05

AR Optics and glasses

Glasses off, helmet on, glasses on, AR Optics on. Adjust the spacers and distance until all four corners of the display are visible. These adjustments do not require a new vehicle calibration. Most glasses work, including progressive lenses. If the fit remains uncomfortable, contact us within the 30-day return period.

06

Align, choose your display and ride

On the bike, use Align locally and bring the two green lines parallel to the road. Start with speed only if you prefer. Switch to Static Mode yourself at dusk, at night or when rain spray affects tracking. For navigation, select your route, press Navigate, then Launch. GPX: Profile → Routes → GPX; import a track, not a route, and download the map for offline use. Set navigation, music and call volume separately. Battery life is about 4–6 hours with AR; USB-C charging while riding is possible.

Owners: troubleshooting

Quick Start

Choose the guide you need for setup, the Companion App, adjustment, helmet features, or troubleshooting.

Onboarding Guide

Pair your helmet and AR Optics, then complete vehicle training.

AR Optics Adjustment

Adjust eye relief and eye-box positioning for a clear, comfortable view.

Helmet Guide

Learn the controls, charging and LEDs, cameras, audio, calls, Wi-Fi, and OTA updates.

Companion App Quick Start

Pair your helmet, manage vehicle profiles, plan routes, and start the AR experience.

AR Experience Troubleshooting

Troubleshoot image movement, flickering, blurring, double images, and positioning.

ProBox Quick Start

Install, pair and calibrate your ProBox, with mounting, power and LED guidance.

Get the companion app

Pair your helmet, manage your devices, and plan your rides from your phone.

Videos
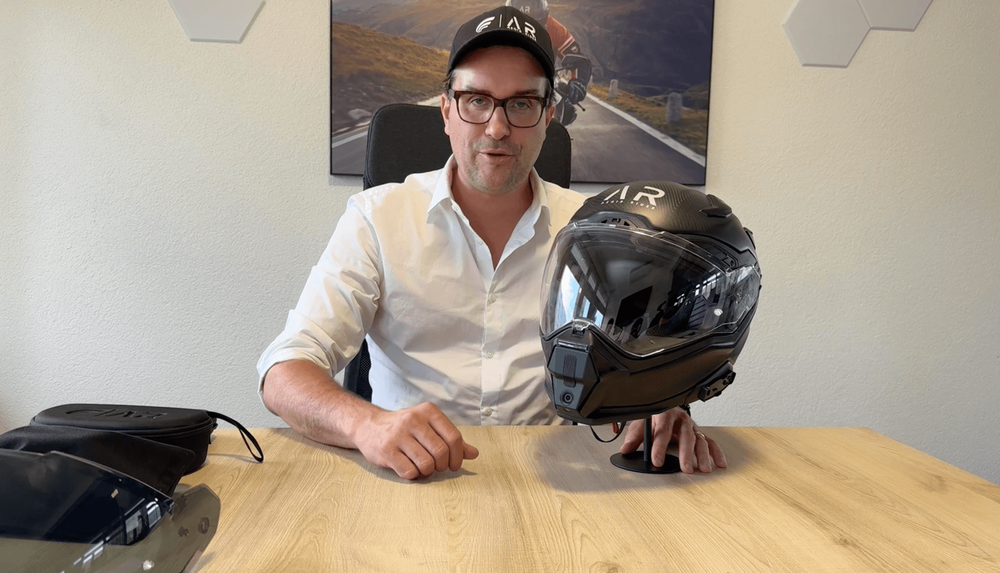
Unboxing & First Setup

Unboxing & First Setup

What's in the box and how to get your Aegis Rider Vision helmet ready for its first ride.
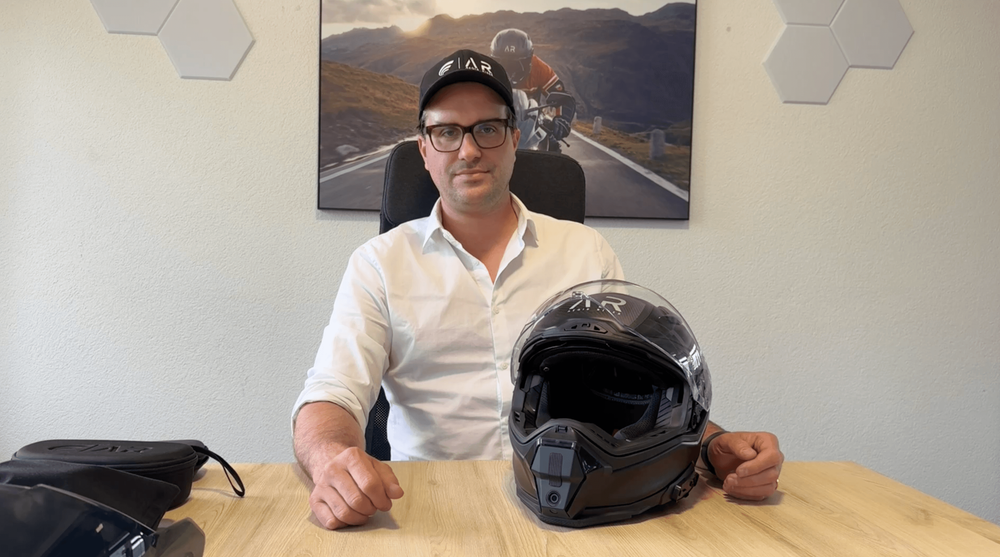
AR Optics Calibration

AR Optics Calibration

Step-by-step guide to installing, adjusting, and calibrating the AR Optics HUD for your motorcycle.
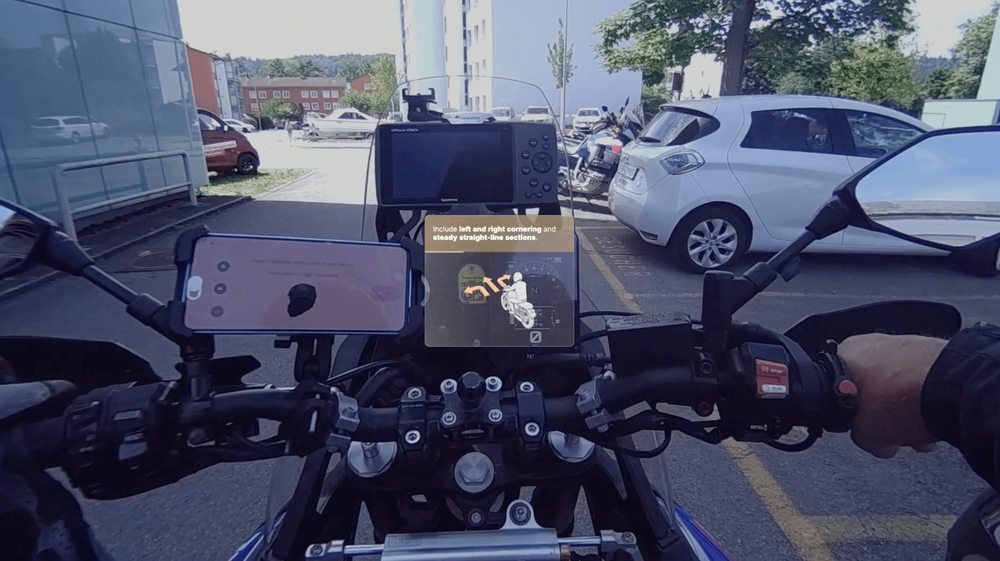
Pairing & Companion App

Pairing & Companion App

Connect your helmet via Bluetooth, and configure your first motorcycle.
Customise your AR experience

Customise your AR experience

How to make the most of your experience. A brief introduction into the various settings of the AR HUD
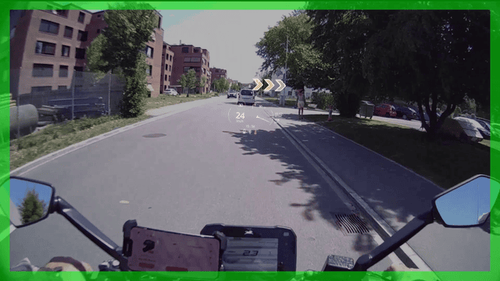
Common failure cases and how to spot them

Common failure cases and how to spot them

Showcasing several common failures and how to spot them in action.

Documentation